Tuesday, April 8, 2014

Post-Adepticon Report and Project Limbo

I broke my one blog post per week vow again, but this time for good reason.  I spent the majority of the past week at Adepticon XII and had an awesome time!  I had intended on posting right before I left but I spent every last second up until the wee hours of the morning prior to leaving for Adepticon putting the finishing touches on those last 3 Ogre Maneaters.  I did get them finished, but more on that later.  

If you are a miniature wargamer, no matter which of the holy trinity of hobby you prefer - be it painting, gaming, or collecting, and you have not been to Adepticon, you are missing out.  The innumerable hosts of people who make this grand event happen deserve the gratitude of all gamers and I can only hope that they continue to put on this amazing spectacle for years to come.  Last year was my first go and I really just observed, took a couple seminars, and took it all in.  

This year, I was able to participate in the Warhammer Fantasy Big Brawl event, a 3000 point brutal competitive tournament.  Finished 0-3... yuck... but I learned quite a bit.  Not a great start, but I've never played in a tournament for Warhammer Fantasy before, so I can't be mad.  Good news - The Ogres got a lot of attention and praise, which was great.  From the feedback, I would have had a good shot at best painted in the tourney had I finished my display base, which I will be working on very soon.  Here are are a few pics from my first couple battles (before I was too tired to take any more pics):
Surrounded...

Really cool battle against the lizards... just too much skink annoyance to stand.

First time seeing Chaos Dwarfs on the table.... ouch. 
Trying to avoid the skullcrackers was a pain... getting hit by them was much worse.

After spending a whole day at the tournament, it was nice to kick back.  Again, if you've never been, there's plenty of different types of events for everyone in the hobby.  For the 40k/Fantasy crowed, there are competitive, team, and narrative/friendly events, each different sizes.  One of the highlight events for me, event though I didn't participate, was the Adepticon Titanicus battle, featuring only 40k titans.  I'd love to do this next year, provided I have a Titan to play with - it looked like way too much fun. 

All that money... 

This year, I was able to attend even more seminars.  I took a glazing, photography, and freehand class.  My favorite, of the four I took however, had to be the Intro to green stuff with Joe Orteza.  The class was short, but taught me such a great deal about how to create simple things, such as purity seals, with little effort.  Very much an aha moment with sculpting for me, which was something I have completed avoided in the past.  Can't wait to try some things out and take the more advanced version next year.  

One thing that I love about Adepticon and other gaming conventions is the indie and upstart games and companies that show up.  Over the week, I was able to try out and see the miniatures for lots of new games. You almost have to be careful, because you can end up signing up for lots of stuff that you'll never have the time for.  Relic Knight looks good and the Kickstarter package should be arriving in May (fingers crossed).  Also got to try out Deadzone.  Oh man... Its gonna be tough not going all in on that one.  And the figures for Wild West Exodus might be unmatched in the hobby... especially for a game so young.  

And then, finally, there is inspiration.  SO many beautiful armies and models - so many that you start failing to notice them.  Just like my failure to create a display board, it will be easier now to do so because I have ideas and had the chance to see them executed on the tabletop.  

Which brings me to upcoming projects...  Its been nearly a year since I put paint down on my first Ogre and they are essentially done.  I will continue to add more to their ranks over the years, but with adepticon out of the way, I can start to focus on other things.  With a fully functional army list, I can spend more time on those additions, bumping the quality up to competition level, hopefully.  As far as the ogres go, there are only a few things to add aside from more troops - Gnoblars, a Giant, some Characters, and a Stonehorn... exciting but there is much more to be excited about.  

I have a large contingent of Dwarfs that I neglected to work on because their book was so old. Now, a new book.  But the great thing about them is that with the Ogres done, I can work slowly on them.  

Imperial Guard?  Sure.  Maybe the new codex will re-spark my interest in 40k... Maybe.  I do have that awesome Vulture Gunship sitting un-assembled on my WIP shelf.  I can add some of those paddy wagons.  Part of me wants to repaint the imperial guard... but I'll stick with the red and figure out a way to make it look better... besides, I picked up two more squads of Krieg this weekend.  

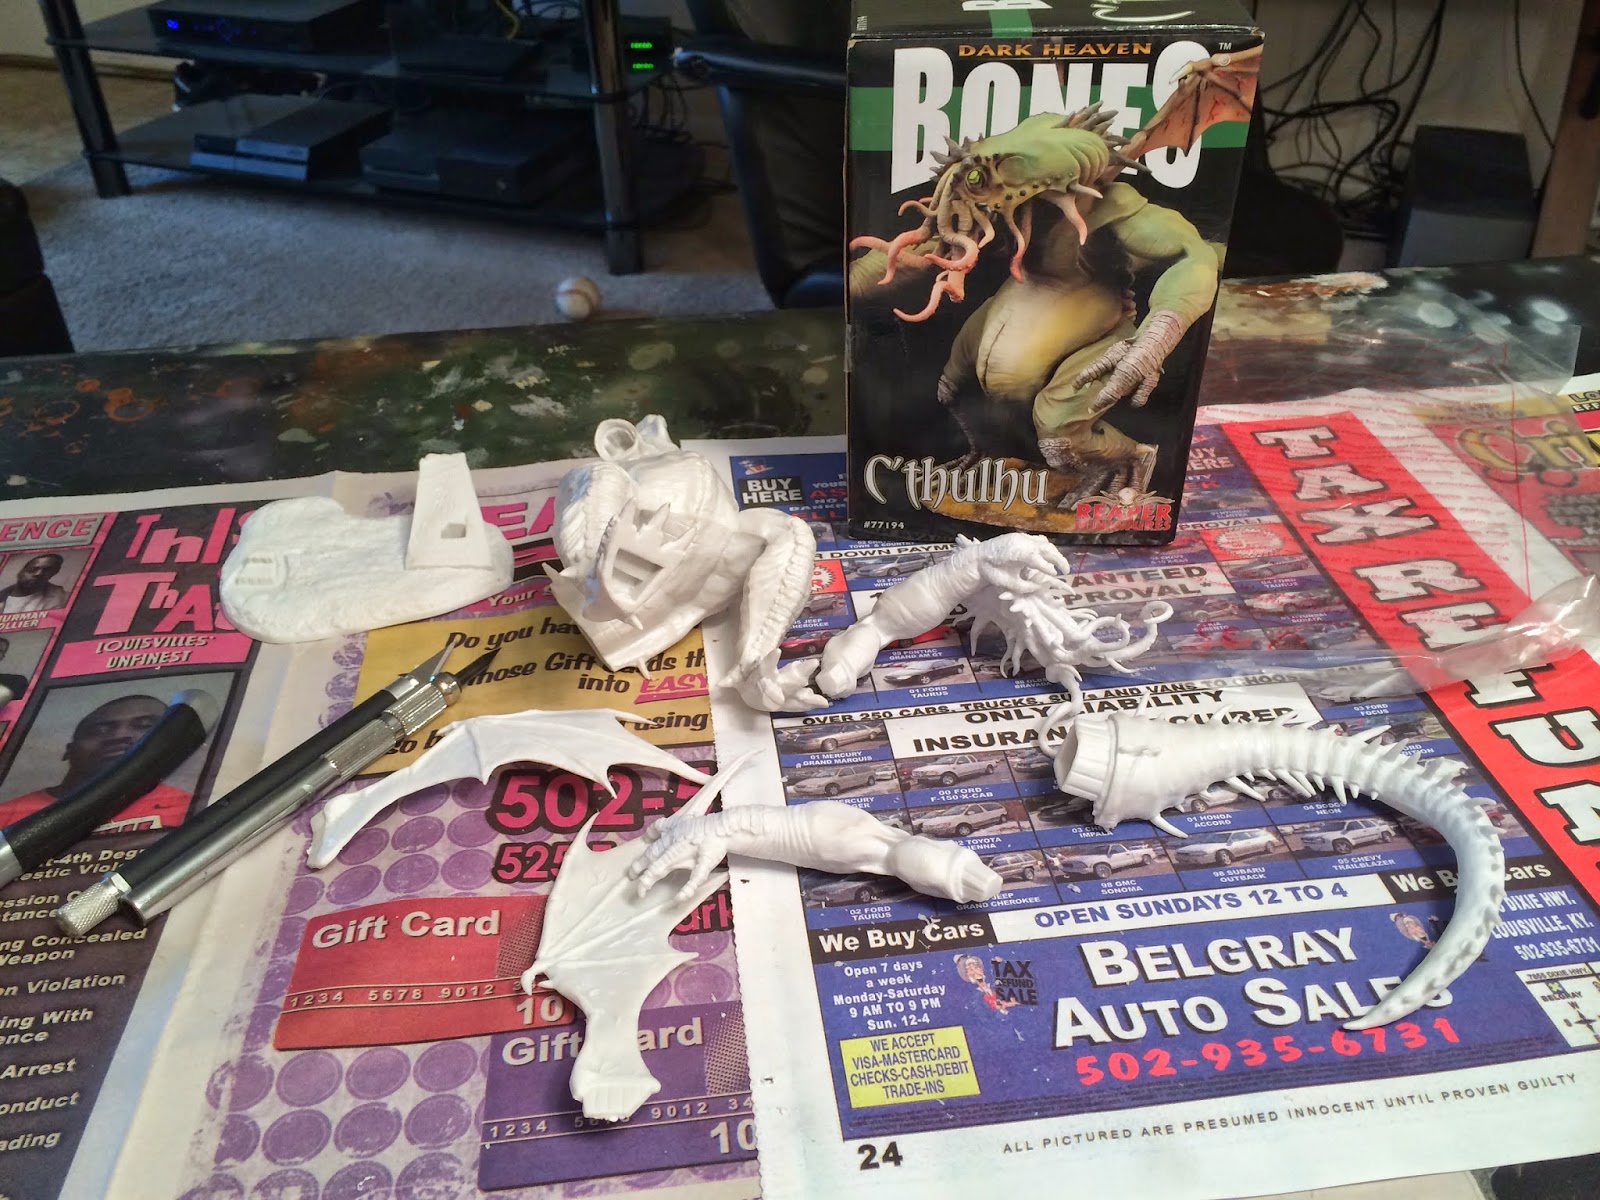
I've also got quite the collection of miscellaneous miniatures.  Things that I bought because they looked cool or fun to paint and I said "Hey, if I can't make it look good, it'll be good practice."  The flower knight diorama is still there and I hope to begin work on it soon.  A friend of mine even dumped his Reaper Bones Cthulu model for me to paint.  I said sure... it'll be fun and good practice.

But what I'm most excited about... are you ready?  I've decided on my next major army project.  If you've ever been to any convention where Forge World has a presence, then you have experienced that burning sensation in your wallet.  They just invite you to spend money on their beautiful models.  While the bulk of my order is going to have to come from their online store, I purchased my first miniature for my new Horus Heresy World Eaters army.  I played Khorne/World Eaters for years back when Khorne really had a presence in 40k.  The last couple of editions have left the Blood God wanting for better rules and models.  However, in Horus Heresy, they seem to rule the roost (Maybe the Sons of Horus get some of the spotlight).  I've not painted an army white before, so I look for it to be a challenge.  Either way, I'll be throwing up all my progress pics online so my 14 followers can see... and maybe somewhere in there more will show up and read my ramblings.  Either way, 2014 should be fun.  Hope to see you all at adepticon next year...  For now... I gotta figure out what to paint...  Here is my loot pic and the underwhelming work from this week... some resin soaks... haha.  


Tuesday, March 25, 2014

Back to Business

Since finishing up (for the most part) the Imperial Knight, I've been kicking back a little and pacing myself for adepticon.  Having quite a few things to do before the event, I didn't want to burn myself out, so I did decide to shelve the Flower Knight diorama for now.  Maybe next year, Crystal Brush... Maybe next year.  

Participating in the Big Brawl Warhammer event, the first priority is finishing up the Ogre army and getting them battle ready and mounted into my tablewar case.  Since the Tablewar cases and add-ons are really made for Warhammer 40k, some modifications needed to be done.  Luckily, I found a local metal supplier that cut some galvanized zinc sheet to size to fit in the display shelves.  This way, the Ogres can be magnetized to the sheet.  My original plan was to use foamboard around the sheet where the Ogres will sit, but I don't think there is room, so I may have to just spray the metal sheet a dark brown or black to hide its shine... meh. 

Quite a bit of progress tonight - a bunch of little things.  First thing, I put on some finishing touches to the Knight that were suggested.  Mainly, putting on a matte coat (did that on Sunday) and putting some burn weathering on the exhausts.  Didn't take a pic of the top down view, but the dullcote layer really toned down the top transfer to make it look more painted on.  


Then, I quickly plugged up the airbrush and painted the bases I had prepped for the Maneater unit and some additional Ogres.  I also put a coat of Medium Camo Brown paint on the regiment trays.  I didn't put much effort into this, as the movement trays are gonna get beat up and don't fit onto the display case. I'll put a dullcote on them as well to try to prevent scratching from the magnets that will stick the ogres to the trays.  You can also see a small shot of progress with the three remaining maneaters. 


With the bases done (black borders excluded), I went ahead and mounted the finished Maneaters to their bases.  Looking nice!  Still working on the gnoblars for the ninja and araby maneaters. 


And heres a shot of the case so far, which shows off the whole army.  Almost done.  Only 9 days til Adepticon... can't wait!


Monday, March 17, 2014

Knight Online

Well, its been a labor of love, but I finished the Imperial Knight Titan.  I'm very happy with it and be prepared for lots of pictures as I go through some of the details on how I did each piece.  As an introduction to todays hefty post, I wanted to share this video that I saw a couple weeks ago of an acapella version of the theme from Mike Tyson's Punch Out!.  I was thinking about painting today and about this video and had an aha moment about painting exceptionally detailed miniatures.  Really, its about layers.  Whether you consider airbrushing or blending, its all about layers of work.  Primer, basecoating, highlights, shading, weathering, on, and on.  Kind of like acapella.  Each sound comes together to make a complete piece.  Think about it and take it one step at a time.  We rush to get our models to the tabletop and forego the little things that make a piece standout.  


Anyway.  On with the knight. Its very important, if you want to pick out detail and not drive yourself insane, to assemble the knight in several sub-assemblies.  I used blue tac (poster tac) to keep joints free from paint during priming to make it easier for the plastic glue to bond later and so I could fit pieces together without glue later.  For me, the sub-assemblies included the lower body/legs, upper body with head attached, each arm, and the upper carapace.  I also kept the small armor plates like the shins, knee plates, etc. unattached as they would be painted in the primary red color while most of the underbody would be metallic.  


As for the base, its important with very large miniatures, such as those with flying bases and the knight (which uses an even larger base than the standard 40k flyer), to have something to look at.  The large area can easily be waaaaay too plain.  I had some spare parts from the Warhammer 40k Manufactorum kit, so I put down some slate rock and cut/balanced the floor pieces so that the knight would stand somewhat stably on top of the terrain and then flocked the base, added a space marine head and some skulls.  I love these tile floors for bases - they give you the opportunity to introduce some color to the base aside from the standard dirt, rock, and grass.  


I haven't used airbrush primer much, but I did for this (hey, its always good to try new things).  It's wonderful for preserving detail.  I sprayed with vallejo black surface primer.  Flows wonderful with a little thinner and covers well.  Afterwards, I masked part of the right shoulder pad and the top armor shell for the hazard stripes.  Once the primer was dry (sort of, I didn't wait long enough and some peeled with the paint) I sprayed a base brown color where the yellow stripes were and also on the base.  


 Haven't done much of this either, but I had decided for a richer red color that I was going to preshade.  It was easy - counting black, I used 3 colors (black, usa grey, and tamiya white).  I sprayed these blends from dark to light, paying attention to where the light would reflect off of the model.  If you notice, I used different points of light for the legs.  Since one leg is behind the other, the light would hit different parts of the armor plates on each leg, one on top and the other on the bottom.  I also went ahead to make it easier on myself in the future and hit each of the tiles that would eventually be white with a spot of gray.  I used a thinned Yriel Yellow for the hazard stripe color and peeled away the masking tape, unintentionally taking some of the underlying primer with it.  No problem - I just took close care and brushed over with thinned black paint (thinned to avoid brush strokes).  I washed the yellow with GWs yellow wash (Casandora Yellow, I think - it wasn't enough but I fixed it in the weathering stages).  


Why is preshading so awesome? Because it allowed me to use one primary red color (Vallejo Scarlet Red - my favorite) to create a rich finish.  With the stark preshaded blend, all I really had to do was go over the plates with several passes of thinned red paint and watch the magic happen.  I used turquoise (GW Sotek Green) for the tiles on the base.  Turquoise is very close to Cyan, which is a complimentary color of red, which will allow the base to compliment the model rather than just be there.  The plan all along was to bring the tiles to their once bright finish and then weather them to reduce contrast.  The space marine helmet - yellow to pull the base together with the hazard stripes.  


That was the fun part of the model.  Or, at least the first part of the fun sandwich.  In the middle, painting the underbody and trim metallic silver... I really dislike this, but silver seemed the best choice.  I had thought about doing metallic gold or even NMM, but I wanted the Knight to be Mechanicus and thought the gold would end up looking too Khorne-ish.  I did the standard metallic paint - Leadbelcher, wash with Nuln Oil and then highlight with Runefang steal.  I usually don't drybrush metal but I did do some drybrushing with Runefang steel here to give some of the large surface areas a "polish" rather than a "brushed" finish.  This works better with gold rub'n'buff, but if you do it right, it helps with metallic paint as well.  

Some of the other details on the model were done carefully but I didn't take step-by-step pictures.  I picked out some areas to paint with metallic gold (Balthasar Gold > Agrax Earthshade > Gehenna's Gold > Runic Armor Gold > Runefang Steel) and painted parts of the Thermal Cannon in bright brass (Screaming Bell > Reikland Fleshshade > Hashut Copper > Sycorax Bronze).  I left most of the hoses black and highlighted (very lightly) with Incubi Darkness.  

The Banner was done with a NMM gold border.  I don't really feel proficient with this and when I do I'll post a tutorial, but I followed a guide in GW's Eavy Metal Masterclass.  This requires some advanced blending techniques and takes some practice.  I find NMM to be hard to explain without video :)


White stripes were done carefully with watered down White Scar and done with several layers.  This makes it easier to make a clean line.  Even with pen/pencil I've always been pretty terrible at drawing a straight line. The brush doesn't make it easier.  

The scrollwork chest plate and the small scrolling on the chainsword (not pictured) was done with a base of Rakarth Flesh, washed heavily with Seraphim Sepia.  I then took Ushtabi bone and highlighted the edges but also added some flicks here and there as weathering on teh scroll.  I used Nuln Oil to carefully stencil in the letters and darken them with several layers.  I finished with spots of white as a final highlight.  


The hatch window and optics were done with several shades of blue over a black base.  Kantor Blue > Maccrage Blue > Caledor Sky > Teclis Blue > Lothern Blue > White.  These are pretty easy with some watering down.  The hardest part is making sure you find the right light point.  I wanted the eyes to have a halo, kind of like BMW headlights, so I drew those carefully with white paint, saturated them with a blue glaze and then put spots of white back on, including the center - it delivered a very mechanical look.  


This brought the model close to being finished.  Now I had to reach out and apply transfers - which made me really nervous.  After a coating of Purity Seal and an overnight drying,  I used the standard procedure (MicroSol and MicroSet) to apply transfers carefully.  I am really impressed with the quality of the transfers included with the kit.  I have two Knights, so I did have to use some extras between the two for the eagles on the legs and the Mechanicus cog symbols.  

The final step was weathering.  I started by shading in some of the recesses on the top armor plate, which at this point in the project just seemed to light.  I used Raw Umber oil paint, thinned with white spirit as a wash in the recesses where the yellow parts were and around rivets.  Some of the less defined recesses (like around the hatch) required a couple light washes.  I then painted all of the rivets with Runefang steel.  

I used rust weathering powders mixed with Mig pigment fixer to apply rust to the steel beams on the base.  I did the same with earth/mud colored pigment powders and gave a wash to the whole base and to the bottoms of the feet and legs (even over the decals on the shins, which made a nice touch).  I brushed dry pigment powders over the base tiles and then stipled and washed pigment over them to make this area look very dirty (I did the same with the space marine helmet but came back with yellow to make it look rubbed off).  

Finally I painted some chipping on the armor with a touch of white to help pop the damage out.  The only thing left was the clean Thermal Cannon, which required me to pull out the airbrush again.  I mixed together a purple ink and gave a light spray across approximately half of the gun barrel.  I repeated, but more heavily with blue ink and allowed this one to shine a bit.  I finished by spraying the end black and drybrushing some runefang steel on the tips of the barrel.  


I hope I didn't forget anything... but I think that covers everything.  Certainly the longest blog post in the history of blogs... but it works.  I will sticky this one sometime this week onto the tutorial links on the right.  This miniature was a pure joy to paint and was my first titan.  It's got me itching to do another one in a different scheme and I'm wondering whether or not I'll be walking away from Adepticon with a Warhound Titan next month (so much fun!).  

I'm going to go back and touch up a couple of things as well as throw on a dullcote or two (to mute the really shiny transfer on top) and weather the top of the exhaust stacks.  Thanks for reading and being patient.  This one will go into a competition at the local GW store later this month and maybe some others.  Very happy with it and appreciate the positive feedback that I've received in groups and forums.  Thanks again and Happy Painting!